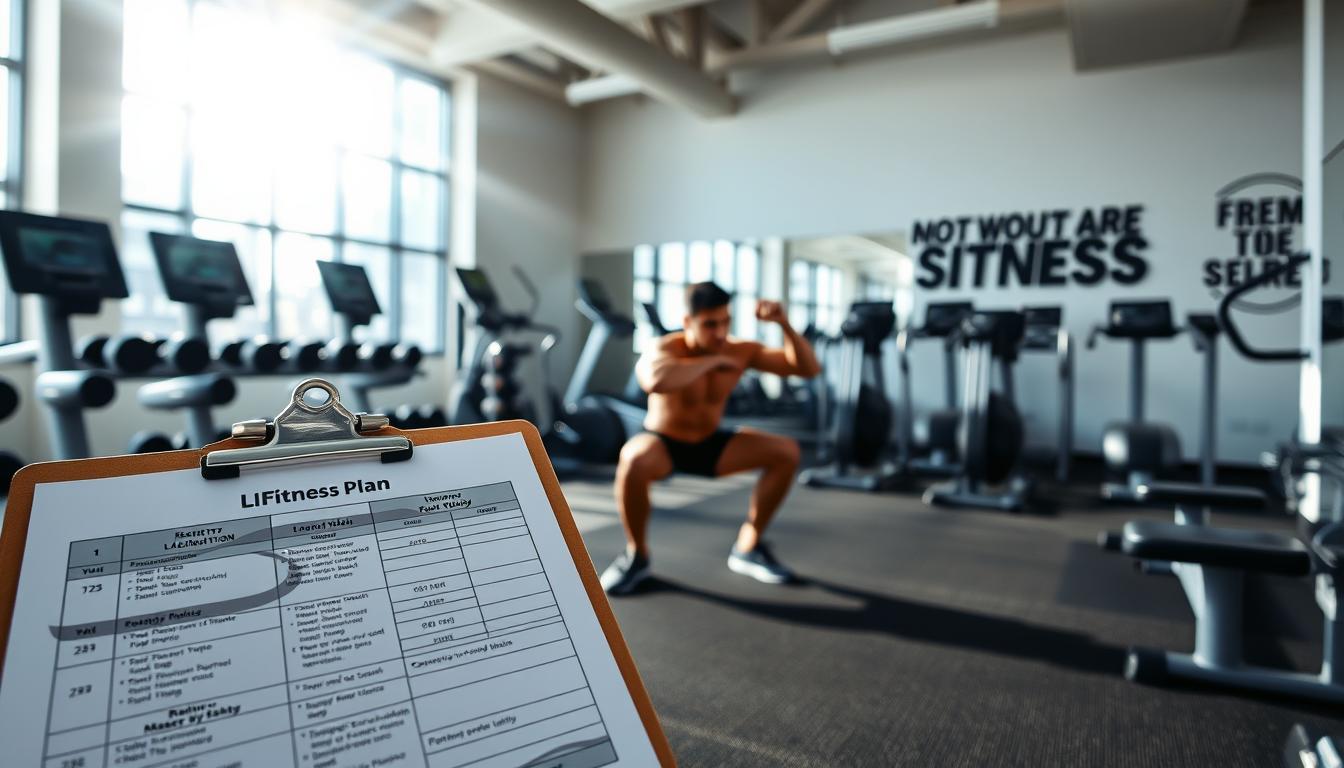
Did you know that adding resistance to leg workouts can increase muscle activation by up to 30%? This tool is great for lower-body training, offering benefits without bulky equipment. Whether for toned quads, a stronger waist, or improved mobility, elastic bands dynamically challenge your muscles.
These stretchable exercise tools adapt to your fitness level. By creating tension during movements like squats or lateral steps, they activate stabilizer muscles often overlooked in workouts. The result? Better balance, joint support, and a deeper burn.
Key Takeaways
- Resistance bands enhance muscle engagement during lower-body workouts, especially for proper positioning.
- They’re portable, affordable, and adaptable to any fitness level for multiple reps.
- Constant tension improves balance and flexibility.
- Squats and lunges become more challenging with added resistance.
- Proper alignment prevents strain and boosts results.
- Multiple tension levels allow progressive overload without weights.
Introduction to Exercise Bands for Legs
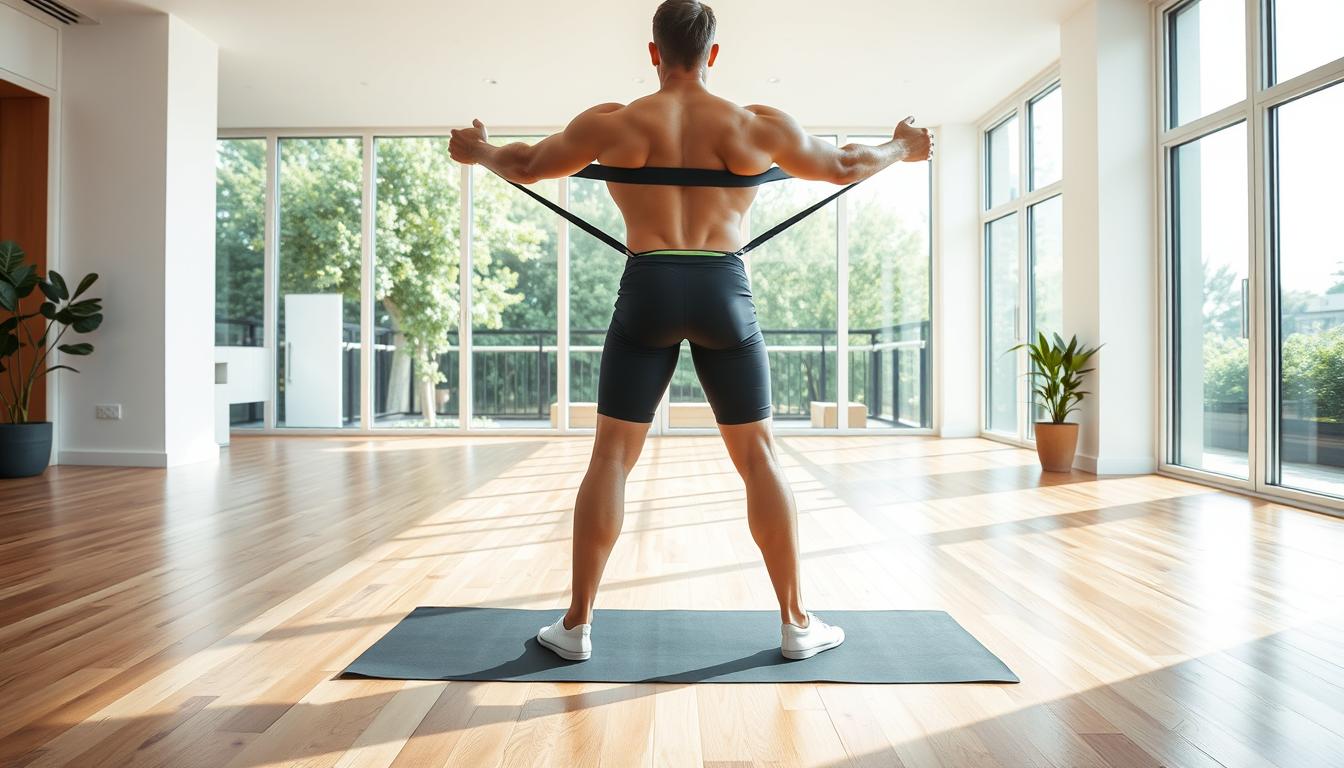
Ever wondered how athletes build power without heavy weights? The secret is elastic resistance. These tools create tension during movements, making squats or side steps more effective. Unlike bulky equipment, they’re lightweight and travel-friendly—perfect for home workouts or outdoor sessions where you can use them by hand.
Why Elastic Resistance Works
Elastic bands provide constant tension, activating muscles through full motion, especially in standing exercises. This aids bending knees in lunges or step-ups. Resistance increases as you stretch the band, promoting safer joint movement than free weights.
| Feature | Free Weights | Resistance Bands |
|---|---|---|
| Portability | Limited | Fits in a bag |
| Joint Impact | High (if dropped) | Low |
| Adjustability | Requires multiple dumbbells | Stack or stretch |
| Cost | $100+ | $15-$40 |
Whether rehabbing an injury or boosting performance, these tools adapt to your needs. Later sections will cover movements, tension strategies, and hybrid workouts with bodyweight exercises.
Benefits of Resistance Band Training for Your Lower Body
A single tool can transform your lower-body workouts while fitting in your pocket. Elastic resistance uniquely builds strength in your glutes, thighs, and calves, adapting to your workout motion patterns for smarter engagement.
Targeted areas see dramatic improvements:
- Glutes fire during hip thrusts and lateral walks
- Quadriceps engage deeper in squats
- Calves stabilize during single-leg moves
Improving Balance and Joint Mobility
Consistent resistance band training enhances proprioception—your body’s sense of spatial awareness. A 2023 study found that balance improved by 22% after just eight weeks of use. The elastic pull gently stresses the joints, including the shoulders, stimulating synovial fluid production for smoother, more controlled movement. These improvements translate to real-world benefits: better stability on uneven terrain, greater explosive power for sports, and a reduced risk of injury in daily activities.
“Bands teach muscles to support joints during dynamic tasks—like climbing stairs or chasing a toddler.”
Understanding Different Types of Resistance Bands
Not all stretchable tools are created equal. Choosing the right style depends on your goals—whether you’re aiming for full lower-body power or precision joint stabilization on both sides. The two primary options each serve distinct purposes in activating muscle groups.
Loop Bands vs. Mini Bands
Loop bands target large muscle groups. Their wide design wraps around thighs or ankles during squats, creating uniform resistance. These are ideal for building strength in hips and thighs while ensuring knee alignment, especially when focusing on the left foot for balanced development.
Mini bands target smaller stabilizers. Their narrow profile fits around feet or above knees for lateral movements, allowing you to stand feet firmly during exercises. “They activate neglected muscles that support joints during dynamic actions,” notes fitness coach Laila Nasr.
| Feature | Loop Bands | Mini Bands |
|---|---|---|
| Best For | Glutes, quads, hamstrings | Ankles, calves, knee stabilizers |
| Resistance Range | Medium to heavy | Light to medium |
| Placement Areas | Thighs, hips, ankles | Feet, lower calves |
Positioning matters. Placing loops higher on the legs increases hip engagement during squats and also helps stabilize the shoulders. Mini bands near the ankles sharpen balance in side steps. For knee health, opt for mini versions during warm-ups to activate supporting muscles before heavy lifts.
How to Choose the Best Resistance Band for Leg Workouts
Selecting the right tool for your exercises can make or break your lower-body progress. The ideal stretchable equipment balances resistance, comfort, and adaptability to your unique biomechanics. Let’s explore what separates average options from game-changing picks.

Key Factors for Selection
Material quality determines longevity. Natural latex resists snapping but may trigger allergies. Synthetic blends offer hypoallergenic alternatives but wear faster. Squeeze the band with your hands—premium options feel smooth without sticky residue.
| Feature | Natural Latex | Synthetic |
|---|---|---|
| Durability | High | Moderate |
| Allergen Risk | Possible | Low |
| Resistance Range | Wide | Limited |
| Best For | Heavy training | Light rehab |
Proper position maximizes effectiveness. Bands placed just above the knees activate glutes during squats and standing exercises. For lateral moves, secure the tool around your ankles. “Misalignment shifts tension away from target muscles,” warns physical therapist Dr. Elena Martinez.
Avoid these pitfalls:
- Thin bands that dig into skin
- Non-slip textures causing fabric burns
- Overly long designs that limit stretch
“Test bands barefoot to assess grip. Your foot should anchor the tool without slipping during side steps.”
Prioritize versatile options with multiple anchor points. Loop-style bands work for hip thrusts and lateral walks, while tube versions attach to doors for advanced moves that effectively target the thigh muscles. Match your selection to your most frequent movement patterns.
Essential Workout Techniques Using Exercise Bands for Legs
Mastering resistance techniques requires precision in movement and awareness of how tension interacts with your body mechanics on both sides. Proper execution turns simple motions into powerhouse routines that sculpt muscles while safeguarding joints.
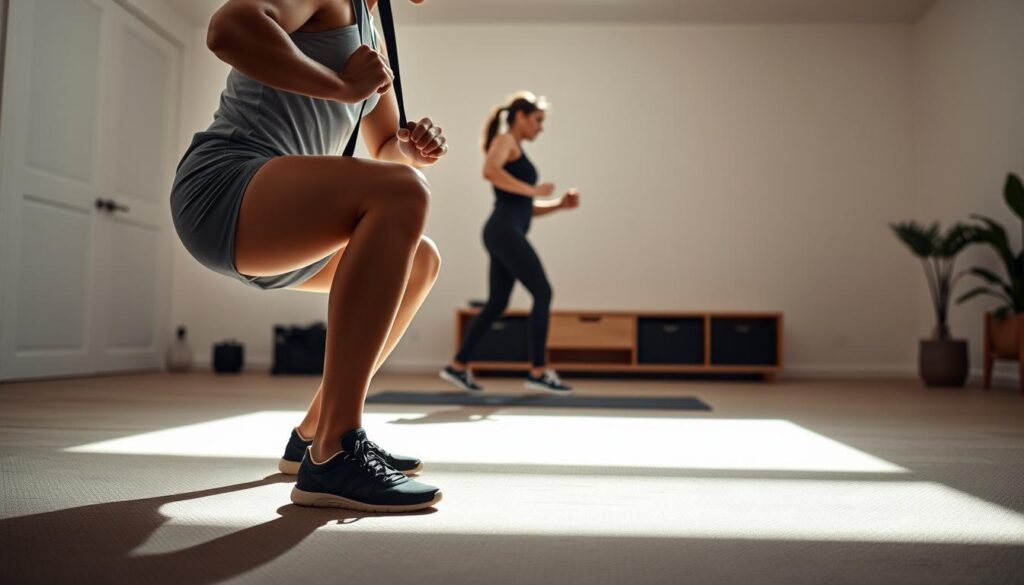
Squats, Lunges, and Side Steps
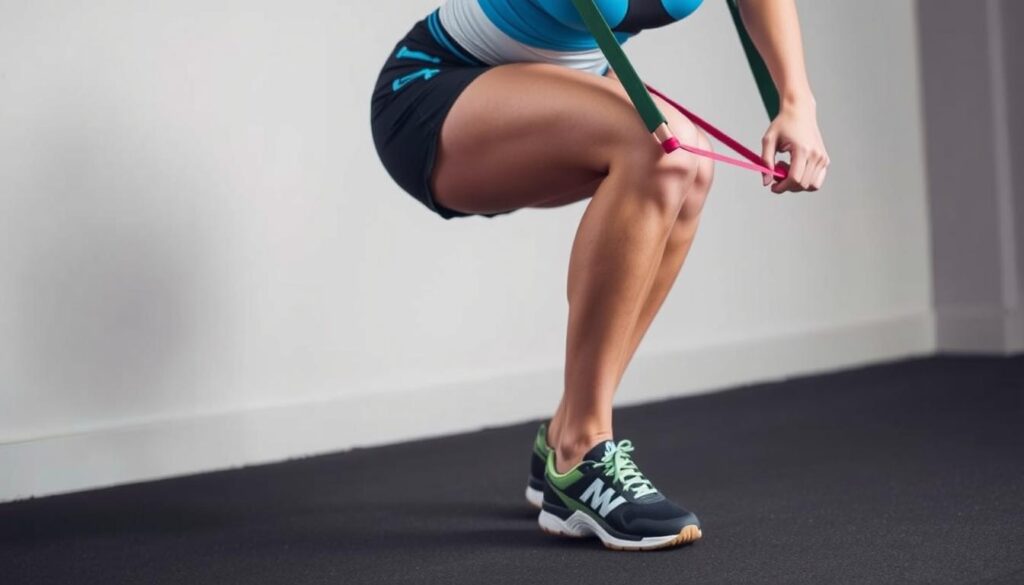
Begin with banded squats: Loop above knees, feet hip-width. Drive hips back, pressing knees outward to engage not only the glutes but also the hamstrings. Keep hands at chest level. For lunges, anchor one foot on the band and step back, keeping front knee aligned with ankle.
Side steps amplify glute activation:
- Place band around lower thighs
- Take 10 steps right, then left, maintaining slight squat
- Keep hands on hips to monitor alignment
Glute Bridges and Kickbacks
Lie face-up for bridges with band above knees. Lift hips while squeezing glutes, pressing legs outward. For kickbacks, position hands and knees on mat with band around foot, ensuring to stand feet firmly on the ground. Extend leg backward, keeping hips square to floor.
| Movement | Key Focus | Common Error |
|---|---|---|
| Bridges | Hip extension | Arching lower back |
| Kickbacks | Glute isolation | Rotating pelvis |
Pair these moves in circuits: 45 seconds work, 15 rest. Alternate between compound patterns (squats) and isolation moves (kickbacks) for balanced development on the ground. Always reset your form between reps—quality trumps quantity, especially when focusing on your left foot for stability.
Correct Form and Technique for Resistance Band Exercises
Precision beats power with resistance tools. Proper alignment turns basic movements into muscle activators, reducing joint strain on your feet. A 2023 study found that those focusing on form achieved 28% greater strength gains than those prioritizing speed or weight, especially when they stand feet firmly and use their hand for balance.

Keep knees aligned with toes during squats and lunges on the ground. Rotating inward shifts tension to ligaments, not quads. “Screw your feet into the floor for stability,” suggests Dr. Sarah Thompson. This engages stabilizers and prevents overextension.
Use these cues to refine your technique:
- Press knees outward against band tension during lateral steps
- Engage core muscles before initiating movements
- Exhale during the exertion phase of each rep
| Movement | Proper Form | Common Error |
|---|---|---|
| Squat | Chest lifted, weight in heels | Leaning forward |
| Lunge | Front knee at 90° angle | Knee collapsing inward |
“Form breakdowns often signal fatigue—that’s your cue to reduce reps, not compromise technique.”
For effective training, adjust band placement to optimize muscle recruitment—higher placement boosts glute activation, while lower targets quads. If resistance feels light, slow your tempo instead of adding bands; three-second descents maintain tension on the ground. Use a mirror to check for asymmetries and record side views to spot uneven weight distribution on your feet. Combine these checks with proper breathing to maximize oxygen flow and performance.
Step-by-Step Guide to Resistance Band Squats
Transforming your squat routine requires more than repetition—it demands smart resistance. When paired with stretchable tools, this classic movement becomes a full-body activator that engages your foot and waist effectively. Let’s break down the mechanics for maximum muscle engagement and joint safety.
Proper Stance and Movement
Start by positioning the loop above your knees. Stand with feet slightly wider than hip-width, toes angled outward 15 degrees. Grip the floor with your heels to maintain stability during these exercises. “Imagine sitting into a chair while pushing against the band’s tension,” advises trainer Marcus Reid, emphasizing the importance of engaging your foot for better stability.
Execute the movement in three phases:
- Lower hips back and down, keeping chest lifted
- Stop when thighs parallel to the floor (or as mobility allows)
- Drive through heels, pressing knees outward during ascent
Avoid leaning forward—your body weight should center over midfoot. For deeper activation, pause at the bottom position for two seconds before rising.
Knee and Hip Alignment
Proper joint alignment prevents strain while amplifying tension on target muscles during your workout. Track knees over second toes with your hand throughout the motion. If they cave inward, reduce your range of motion until control improves.
| Focus Area | Correct Position | Fix This Error |
|---|---|---|
| Knees | Aligned with toes | Inward collapse |
| Hips | Hinged backward | Forward tilt |
| Spine | Neutral curve | Excessive arching |
Progress by slowing your tempo: 4 seconds down, 2 seconds up. Physical therapist Dr. Leah Nguyen notes: “Controlled eccentric phases build strength three times faster than speed-focused reps.” Pair this technique with thicker bands as your thigh muscles adapt, while keeping your shoulders stable and engaged.
Effective Lower Body Exercises with Resistance Bands
Unlocking lower-body potential needs strategic resistance. These tools turn simple motions into targeted muscle activators for glutes and thighs. Whether rehabbing or building power, proper technique ensures gains.

Targeting Glutes and Thighs
Fire hydrants isolate outer hips: Position a mini band around your ankles. On hands and knees, lift one leg sideways while keeping your arms and shoulders square to the floor. Hold for two seconds at the top to maximize tension.
Advanced Variations for Leg and Hip Engagement
Elevate basic moves by combining patterns. Try a squat-to-lateral walk sequence: Complete three squats, then five side steps. This hybrid approach boosts endurance and works multiple muscle groups simultaneously.
| Exercise | Modification | Benefit |
|---|---|---|
| Glute Kickback | Add ankle weights | Increases resistance |
| Lunge | Hold band at shoulder height | Engages core and upper boy |
Integrating Resistance Bands into Your Leg Training Routine
Unlock the full potential of your lower-body training by blending stretchable resistance with existing routines. These tools add versatility to traditional workouts, creating a bridge between strength development and functional mobility. Strategic placement—like positioning a band around ankles during standing lateral movements—enhances engagement of your thighs without disrupting your flow.
Combining with Other Workouts
Pair bands with weights for lifts. During squats, loop above knees while holding dumbbells. This resistance challenges stabilizers and prime movers, particularly on the sides of your thighs. For cardio, alternate step-ups with bands and jump rope to spike heart rate while maintaining hip activation.
Intermediate exercisers can layer techniques:
- Anchor bands to a rack for assisted single-leg deadlifts
- Add tension to lunges by stepping back from a fixed band
- Use mini bands during Pilates to deepen core-leg connections
| Training Style | Band Integration | Benefit |
|---|---|---|
| Weightlifting | Banded barbell squats | Improved knee tracking |
| Yoga | Stretch loops in warrior poses | Enhanced balance |
| HIIT | Lateral steps between burpees | Increased calorie burn |
Adjust intensity by shifting the band around ankles and foot to thighs or changing grip width. Schedule band days between heavy lifting to avoid overtraining. “Start with two hybrid workouts weekly,” suggests trainer Layla Cruz. “Gradually replace 25% of traditional sets with band variations.”
Tips for Increasing Resistance and Progressive Overload
Building strength isn’t about lifting heavier—it’s about smarter tension. Progressive overload, the gradual increase of stress on muscles, drives growth in both arms and thighs. With stretchable tools, this means adjusting resistance rather than adding plates. Start with lighter tension, then layer or swap bands as your body adapts.
Combine loops for upgrades. For instance, use a medium band on thighs and a light one at ankles during squats. This targets glutes, stabilizers, and arms. Trainer Rachel Park notes: “Layering creates adaptable resistance curves—perfect for breaking plateaus without joint strain.”
| Progression Method | Implementation | Benefit |
|---|---|---|
| Heavier Bands | Swap light for medium resistance | Boosts raw strength |
| Layered Bands | Stack two loops on thighs | Enhances muscle endurance |
| Tempo Adjustments | 4-second lowering phase | Increases time under tension |
Track progress through measurable goals. If lateral steps with a band around knees feel easy for 20 reps, add 5 more or reduce rest intervals. Time under tension matters—aim for 45-60 seconds per set.
Common Mistakes to Avoid When Using Resistance Bands
Even seasoned athletes can sabotage their progress with simple oversights. Positioning errors and improper tension management reduce effectiveness while increasing injury risks. Let’s explore how to sidestep these pitfalls for safer, more efficient workouts.
Ensuring Proper Band Tension
Proper resistance band use needs balanced tension and form. Too much slack reduces muscle activation, while tightness strains joints. Test band tension: if it sags during lateral steps, shorten your stance and ensure your left foot is aligned properly. For kickbacks, anchor the band around ankles to prevent slippage. Balance is key—distribute force evenly. Trainer Marco Silva advises, “If one side feels easier, reduce reps or adjust your starting position to stand feet hip-width apart.
Avoiding Overstretching and Form Breakdowns
Stretching bands beyond 300% of their length risks snapping and reduces elasticity. Monitor your range: if knees cave inward during squats, especially affecting your thighs, decrease resistance. Keep movements controlled—momentum cheats your arms and muscles of tension, particularly when pushing against the ground.
| Error | Fix | Benefit |
|---|---|---|
| Band too high on thighs | Position around ankles | Better glute activation |
| Uneven footing | Stand feet hip-width apart | Balanced force distribution |
Check alignment mid-workout. Place a mirror sideways to spot hip shifts or arched backs. Pay attention to your hands and arms during adjustments, and pair these with breath control—exhale during exertion phases to stabilize your core and protect your thighs.
Conclusion
Start with foundational moves, gradually increasing resistance band levels as your form stabilizes. Pair these tools with existing exercise routines like yoga or weightlifting for hybrid workouts. Remember: quality repetitions trump speed. Track progress through measurable goals, such as adding five reps or reducing rest intervals weekly, while focusing on your thighs.
Make sure your knees stay over your toes during leg exercises to effectively engage your thighs. With regular use, resistance bands can improve your balance by 22% and make everyday movements easier and stronger. Tracking your reps can also help in monitoring your progress.
Ready to level up? Begin your next session with a back starting position during bridges to fire up glutes and focus on your thighs. By tracking your reps with a resistance band, you’ll unlock leaner muscles and resilient joints—no gym required.
FAQ